|
The COOLEST Guitar Ever Made
|
 |
|
|
|
|
|
|
|
|
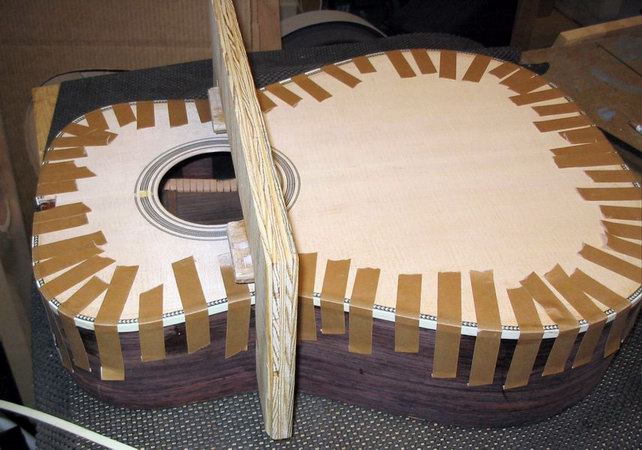
Top being joined to the sides
|
|
This tape is strong. It is recommended that you use a heat gun to remove it. Otherwise you may pull up part of the spruce. You know what? That's great advice! :o)
|
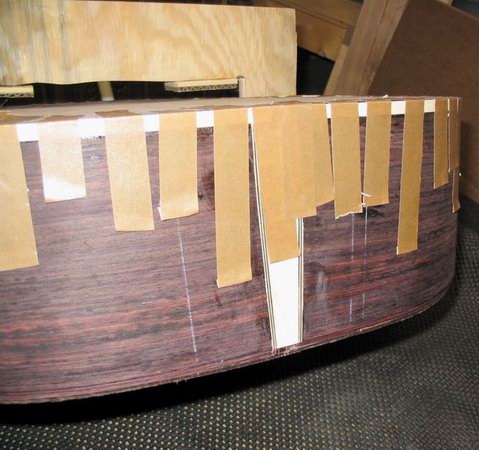
Ivoroid end piece in place
|
|
The ivoroid can be tough to work with. My dad did a great job with it. Note the purfling along the edges.
|
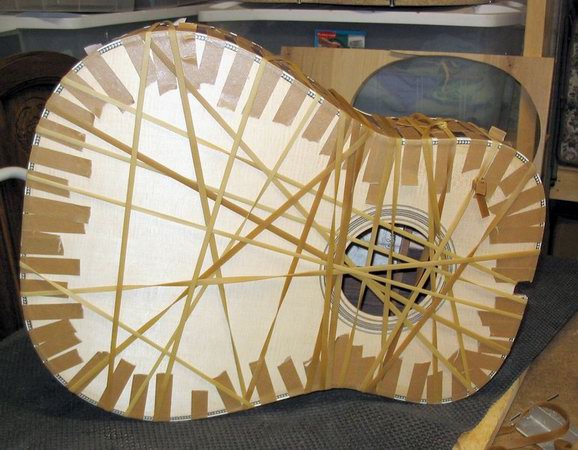
Hey brother, can you spare a rubber band?
|
|
The top has been taped and rubber banded to the sides. Now, patience!
|
Free at last!
|
|
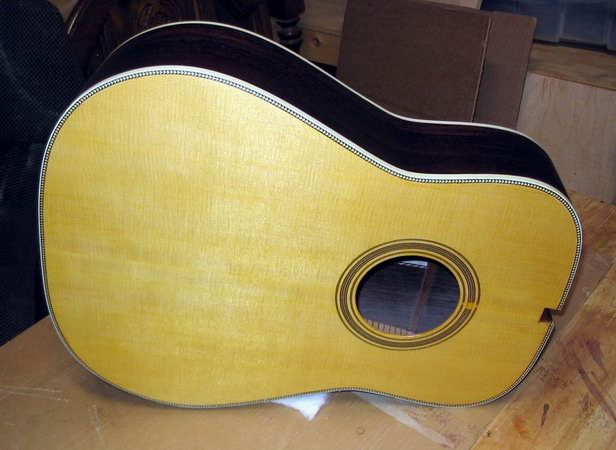
After removing the tape, rubber bands, etc a vintage stain was applied to the soundboard. It was suggested on the label that it could also be applied to the back and sides. So we did. I think it's awesome.
|
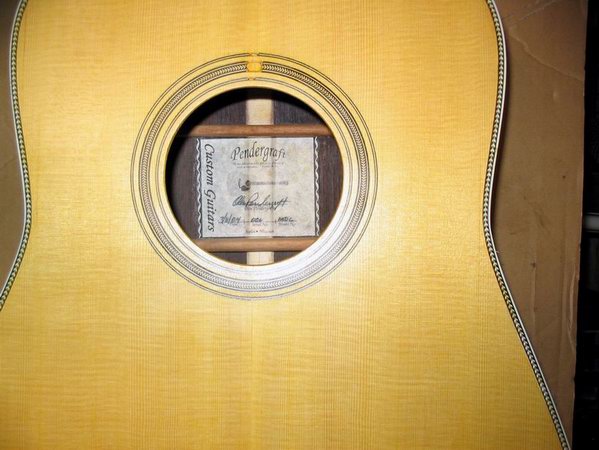
A good look at the stained soundboard, the label, the purfling, rosette, etc.
|
|
In the picture above, you can see one of my only two contributions to the guitar. I designed the label and also the decal for the peghead (coming soon!).
|
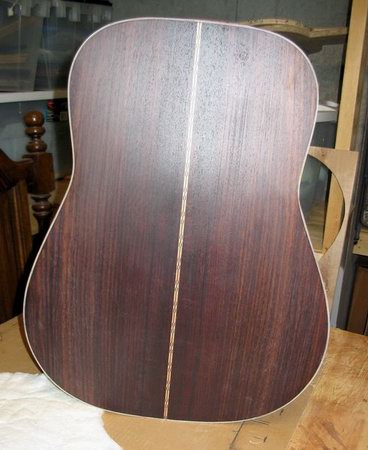
The back. It's starting to look really nice!
|
|
You can see that the rosewood takes a slightly darker cast after having the vintage toner applied to it. It looks really nice. It won't be long before it the finish will be applied to the body.
|
Ahh! I can't find my neck! :o)
|
|
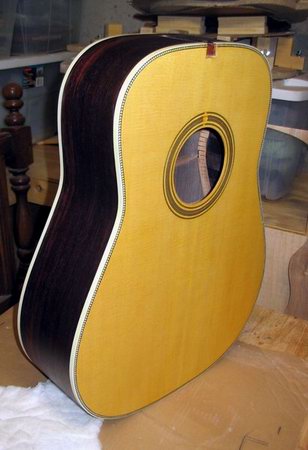
All the body needs now is some filler and finish.
|
|